
Can You Reuse Peel And Stick Wallpaper? A Comprehensive Guide For The Curious DIYer
Ever wondered if you can reuse peel and stick wallpaper? Well, buckle up because we're diving deep into this sticky situation! Whether you're a first-time DIY enthusiast or an old pro looking to save some cash, this article has got you covered. Reusing peel and stick wallpaper is not only eco-friendly but can also save you a ton of money. Let’s peel back the layers and find out what’s possible!
Let’s be honest here—peel and stick wallpaper has become the go-to choice for anyone wanting a quick and easy home makeover. It’s versatile, stylish, and oh-so-easy to apply. But what happens when it’s time for a change? Do you just toss it out, or is there a way to make it work again? Stick around, and we’ll break it down for you.
Before we dive into the nitty-gritty, let’s set the stage. Reusing peel and stick wallpaper isn’t just about saving money—it’s about reducing waste and being more sustainable. In today’s world, where environmental awareness is key, finding ways to repurpose materials is a win-win. So, if you’ve got old peel and stick wallpaper lying around, it’s time to explore its second life. Let’s get started!
- John Oates Vermgen 2023 So Reich Ist Er Wirklich Geheimnisse
- Ren Xianqi Alles Ber Den Star Musik Filme Mehr
Can You Reuse Peel and Stick Wallpaper? The Short Answer
Alright, let’s cut to the chase. Can you reuse peel and stick wallpaper? The answer is a resounding YES, but with some caveats. Not all peel and stick wallpapers are created equal, and the success of reusing them depends on several factors. The quality of the material, how well it was initially applied, and the condition of the wallpaper all play a role in determining whether it can be reused.
Think of it this way: if your peel and stick wallpaper is still in good condition—no tears, no peeling, and no adhesive damage—there’s a good chance you can reuse it. But if it’s looking worse for wear, it might be time to let it go. Keep reading, and we’ll walk you through the steps to determine if your wallpaper is a candidate for a second life.
Factors That Determine If You Can Reuse Peel and Stick Wallpaper
Before you start peeling and sticking again, it’s important to assess the condition of your wallpaper. Here are some key factors to consider:
- Logan Moreau Alles Ber Den Nhl Star Der Blue Jackets
- Faszination Carradine Wie Viele Carradinebrder Leben Noch Jetzt Enthllt
- Adhesive Quality: High-quality peel and stick wallpapers often have stronger adhesives that can withstand multiple uses. If the adhesive is still tacky, you’re in luck!
- Material Durability: Vinyl and fabric-based wallpapers tend to hold up better than paper-based ones. If your wallpaper is made from durable materials, it’s more likely to be reusable.
- Surface Compatibility: The surface you plan to reapply the wallpaper to matters. Smooth, clean surfaces work best, while textured or uneven walls might cause issues.
- Damage Level: Check for tears, creases, or other damage. If the wallpaper is intact, you’re good to go. But if it’s falling apart, it might not be worth the effort.
Now that you know what to look for, let’s move on to the next step: preparation.
How to Prepare Peel and Stick Wallpaper for Reuse
Preparing your wallpaper for reuse is crucial to ensuring it sticks properly the second (or third) time around. Follow these steps to get your wallpaper ready:
Cleaning the Wallpaper
First things first—clean your wallpaper thoroughly. Dust, dirt, and grime can interfere with the adhesive, so it’s essential to give your wallpaper a good wipe down. Use a damp cloth and mild soap to gently clean the surface, then let it dry completely before moving on to the next step.
Checking the Adhesive
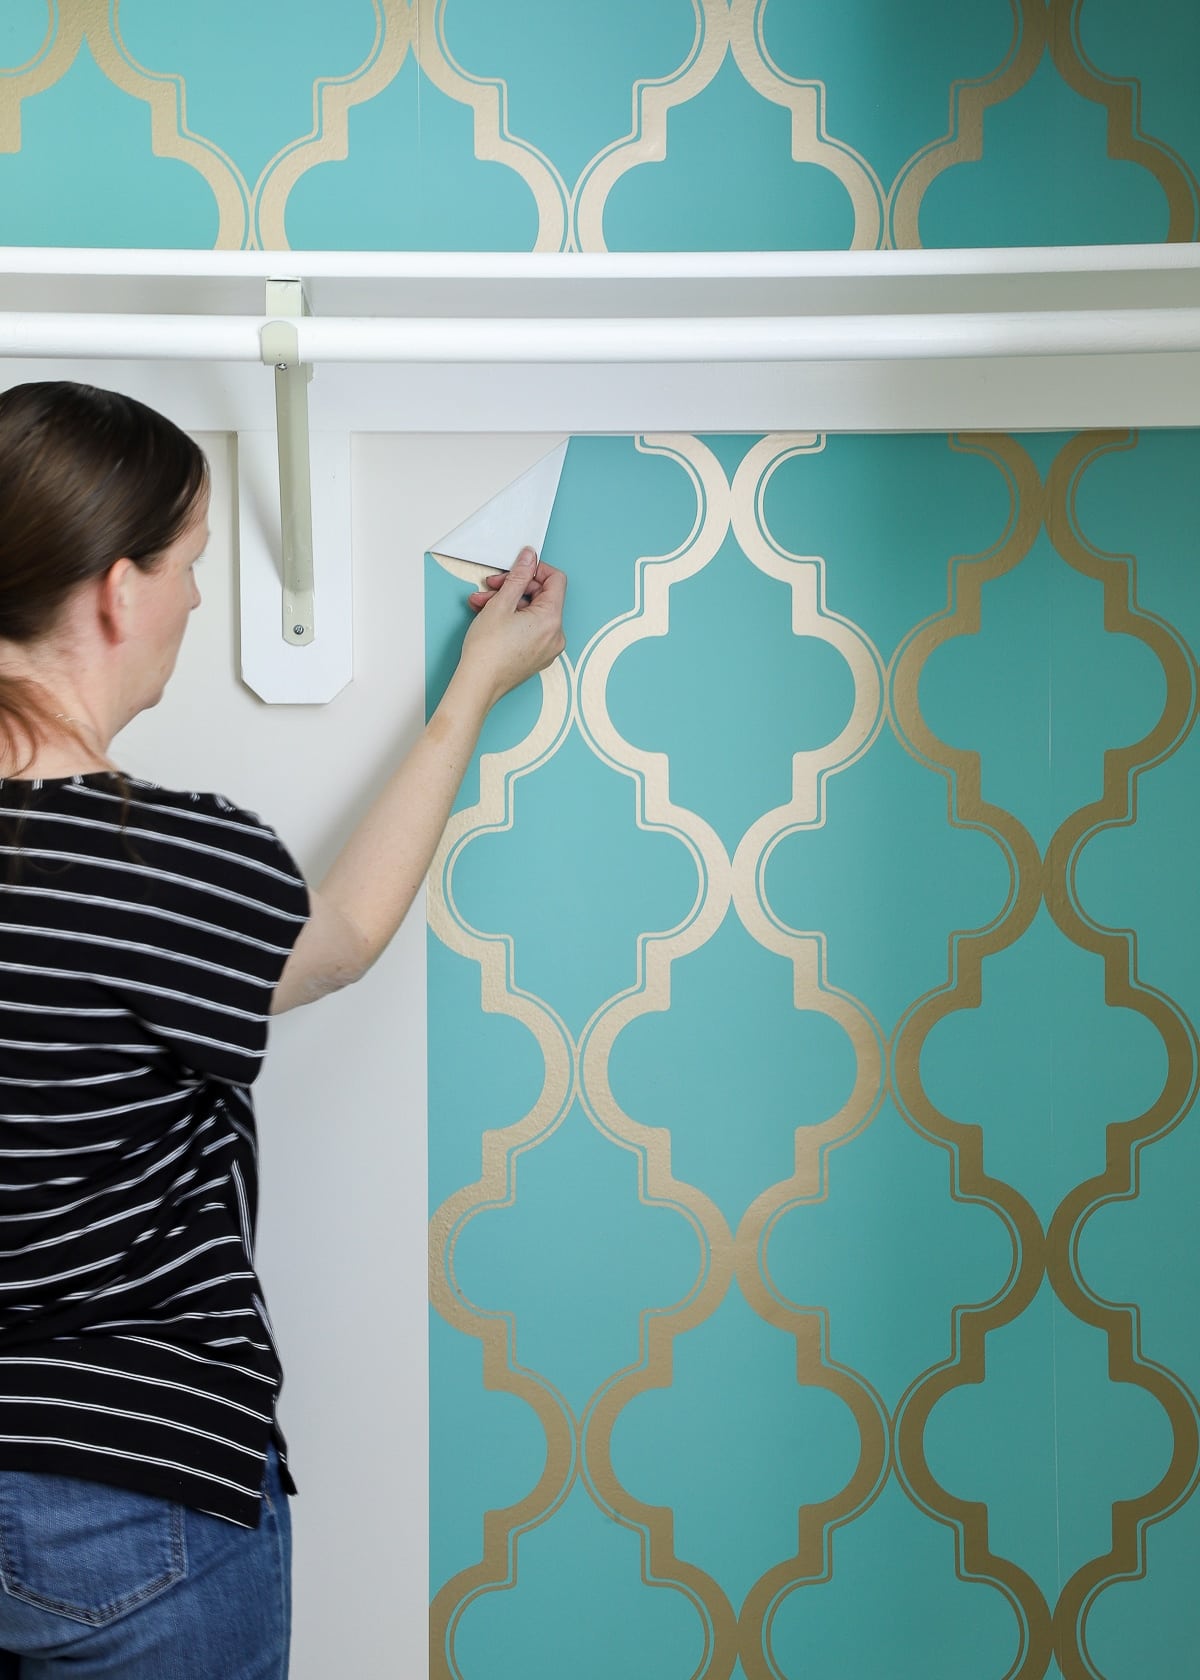
Next, test the adhesive. Peel off a small section and see how sticky it still is. If it feels weak or non-existent, you might need to reinforce it. Don’t worry—we’ll cover that in the next section.
Repairing Tears and Creases
Got some tears or creases? No problem! Use a pair of scissors to trim any rough edges, and gently smooth out any creases with a lint roller or clean cloth. A little TLC can go a long way in preparing your wallpaper for reuse.
What If the Adhesive Is Weak? Reinforcement Tips
So, what do you do if the adhesive on your peel and stick wallpaper is weak or non-existent? Fear not—there are ways to reinforce it:
- Double-Sided Tape: Apply double-sided tape to the back of the wallpaper for added grip. This is a quick and easy fix that works wonders.
- Adhesive Spray: Use an adhesive spray designed for fabrics or wallpapers. Spray a thin, even layer on the back of the wallpaper, then let it dry slightly before applying.
- Contact Cement: For a more permanent solution, use contact cement. Apply a thin layer to both the wallpaper and the wall, then press them together for a strong bond.
Remember, the key is to use a product that won’t damage the wallpaper or leave residue behind. Test a small section first to ensure it works well with your specific material.
Best Practices for Reapplying Peel and Stick Wallpaper
Now that your wallpaper is prepped and ready, it’s time to reapply it. Here are some best practices to ensure a smooth and successful installation:
Choosing the Right Surface
Pick a surface that’s smooth, clean, and free of dust or debris. Walls that are freshly painted or primed work best. If you’re applying the wallpaper to a textured surface, consider using a primer to smooth it out first.
Measuring and Cutting
Measure the area you want to cover carefully, then cut the wallpaper to size. Leave a little extra on each side to account for any mistakes or uneven surfaces. This will make the installation process much easier.
Applying the Wallpaper
Start at one corner and work your way across, smoothing out any bubbles or wrinkles as you go. Use a squeegee or a clean cloth to press the wallpaper firmly onto the wall. Take your time and be patient—rushing can lead to mistakes!
Common Mistakes to Avoid When Reusing Peel and Stick Wallpaper
Even the best-laid plans can go awry if you’re not careful. Here are some common mistakes to avoid when reusing peel and stick wallpaper:
- Skipping the Prep Work: Failing to clean and prepare the wallpaper properly can lead to poor adhesion and uneven results.
- Using the Wrong Adhesive: Choosing the wrong adhesive can damage the wallpaper or leave unsightly residue. Always test a small section first.
- Rushing the Process: Taking shortcuts or rushing through the installation can result in bubbles, wrinkles, and other issues. Patience is key!
By avoiding these mistakes, you’ll ensure a successful and stress-free reapplication process.
Environmental Benefits of Reusing Peel and Stick Wallpaper
Let’s talk about the bigger picture here. Reusing peel and stick wallpaper isn’t just about saving money—it’s also about reducing waste and being more environmentally friendly. By repurposing materials, you’re doing your part to minimize landfill waste and conserve resources.
Plus, it’s a great way to get creative with your home decor. Instead of buying new wallpaper, you can give your old one a fresh new look with a little creativity and elbow grease. It’s a win-win for both your wallet and the planet!
Alternatives to Reusing Peel and Stick Wallpaper
If reusing your wallpaper isn’t feasible, don’t fret—there are plenty of alternatives to consider:
Upcycling Ideas
Turn your old wallpaper into something new! Use it to create decorative boxes, book covers, or even wall art. The possibilities are endless when it comes to upcycling.
Recycling Options
Check with your local recycling center to see if they accept wallpaper for recycling. Many centers have programs in place to handle materials like vinyl and fabric-based wallpapers.
Donation Opportunities
Consider donating your old wallpaper to a local charity or community center. They might be able to use it for crafts or other projects, giving it a new purpose.
Data and Statistics on Wallpaper Reuse
Did you know that over 50% of homeowners opt for peel and stick wallpaper as their go-to decor solution? According to a recent study, the global wallpaper market is projected to reach $12 billion by 2025, with reusable options gaining popularity due to their eco-friendly appeal.
In addition, recycling and repurposing materials can reduce household waste by up to 30%, making it a smart choice for both your wallet and the environment. These stats highlight the growing trend toward sustainability in home decor.
Conclusion: Your Next Steps
So, there you have it—a comprehensive guide to reusing peel and stick wallpaper. From assessing the condition of your wallpaper to preparing it for reuse, we’ve covered everything you need to know. Remember, the key to success is patience, preparation, and a little creativity.
Now it’s your turn! Take action by assessing your own wallpaper, prepping it for reuse, and giving it a second life. Don’t forget to share your results with us in the comments below—we’d love to hear about your DIY adventures. And if you found this article helpful, be sure to check out our other guides for more home decor inspiration.
Table of Contents
- Can You Reuse Peel and Stick Wallpaper? A Comprehensive Guide for the Curious DIYer
- Can You Reuse Peel and Stick Wallpaper? The Short Answer
- Factors That Determine If You Can Reuse Peel and Stick Wallpaper
- How to Prepare Peel and Stick Wallpaper for Reuse
- What If the Adhesive Is Weak? Reinforcement Tips
- Best Practices for Reapplying Peel and Stick Wallpaper
- Common Mistakes to Avoid When Reusing Peel and Stick Wallpaper
- Environmental Benefits of Reusing Peel and Stick Wallpaper
- Alternatives to Reusing Peel and Stick Wallpaper
- Data and Statistics on Wallpaper Reuse
- Conclusion: Your Next Steps
Article Recommendations
- Andrea Brillantes Gre Alles Was Du Wissen Musst Fakten
- Mamitha Baiju Gre Das Geheimnis Ihres Erfolgs Jetzt Entdecken


Detail Author:
- Name : Anjali Herzog
- Username : gilbert.konopelski
- Email : quigley.nellie@hotmail.com
- Birthdate : 1999-12-24
- Address : 817 Mitchell Loop Apt. 101 New Blazefurt, UT 89201
- Phone : +16817067021
- Company : Macejkovic, Nader and Wilkinson
- Job : User Experience Researcher
- Bio : Qui temporibus excepturi laudantium et. Voluptatibus consequuntur minus sit esse facilis. Veniam qui aut tempora rem id aliquam. Est beatae voluptatem vero neque.
Socials
linkedin:
- url : https://linkedin.com/in/bergem
- username : bergem
- bio : Debitis necessitatibus tenetur provident.
- followers : 4153
- following : 2539
instagram:
- url : https://instagram.com/melba_berge
- username : melba_berge
- bio : Ipsam et voluptatem dolores minima. Ut asperiores totam itaque.
- followers : 407
- following : 1343
facebook:
- url : https://facebook.com/bergem
- username : bergem
- bio : Ut quidem reprehenderit quis maiores magni omnis voluptates ab.
- followers : 739
- following : 1597
tiktok:
- url : https://tiktok.com/@melba8645
- username : melba8645
- bio : Quia sed at ad et debitis quos.
- followers : 5295
- following : 2746
twitter:
- url : https://twitter.com/melba3042
- username : melba3042
- bio : Quia voluptatem animi laboriosam cupiditate id quia qui. Et vel laboriosam vitae earum minus. Tenetur autem odio quibusdam iusto praesentium.
- followers : 2644
- following : 1137
