
How To Dye Extensions At Home: A Step-by-Step Guide For Hair Transformation
Have you ever thought about changing your look but didn’t want to spend a fortune on salon treatments? Well, let me tell you something—you’re not alone. Dyeing hair extensions at home is totally doable, and it’s way easier than you think. Whether you’re looking to go bold with vibrant colors or just want to match your extensions to your natural hair, this guide has got you covered. So grab your favorite drink, sit tight, and let’s dive into the world of DIY hair dyeing.
There’s nothing quite like the confidence boost that comes with rocking fresh hair color. But let’s be real—salons can be expensive, and sometimes you just don’t have time to book an appointment. The good news? You can achieve professional-looking results right from the comfort of your own bathroom. All you need is the right tools, a bit of patience, and this step-by-step guide.
Before we get started, it’s important to remember that dyeing hair extensions at home requires some preparation. From choosing the right dye to protecting your skin and clothes, there are a few things you should keep in mind. Don’t worry—I’ll walk you through everything so you can avoid those pesky mistakes and end up with stunning results.
- Ski Bri Wie Alt Ist Sie Wirklich Alter Karriere Mehr
- Entdecke Die Naslen Biografie Werdegang Erfolgsgeheimnisse
Why Dye Your Extensions at Home?
Let’s face it—salon visits can add up fast. If you’re someone who loves experimenting with different looks, dyeing your extensions at home is a budget-friendly solution that lets you switch things up whenever you feel like it. Plus, who doesn’t love the satisfaction of doing something themselves and saving a ton of cash in the process?
Here are a few reasons why dyeing extensions at home might be the perfect choice for you:
- Cost-Effective: Forget about paying $100+ for a salon session. With a DIY approach, you can save big bucks while still achieving great results.
- Convenience: No more waiting for appointments or dealing with crowded salons. Do it whenever you want, wherever you want.
- Customization: Want to try out a wild new color? Go ahead! You’re in control, so the possibilities are endless.
- Learning Experience: It’s always fun to learn new skills, and mastering how to dye extensions at home is no exception.
What You Need to Dye Extensions at Home
Before you start dyeing your extensions, make sure you’ve got all the necessary supplies. Preparation is key, trust me on this one. Here’s a quick list of everything you’ll need:
- Naslen K Gafoor Was Sein Ber Seine Karriere Sagt
- Enthllt Pearl Thusi Ehemann Alles Ber Ihre Beziehung
- Hair dye (semi-permanent or permanent, depending on your preference)
- Developer (usually comes with the dye)
- Gloves (to protect your hands from staining)
- Old towels (to catch any drips or spills)
- A mixing bowl and brush (or applicator bottle)
- Clips or elastic bands (to section off your hair)
- Shampoo and conditioner (for after the dyeing process)
- A well-ventilated area (safety first!)
Choosing the Right Dye for Your Extensions
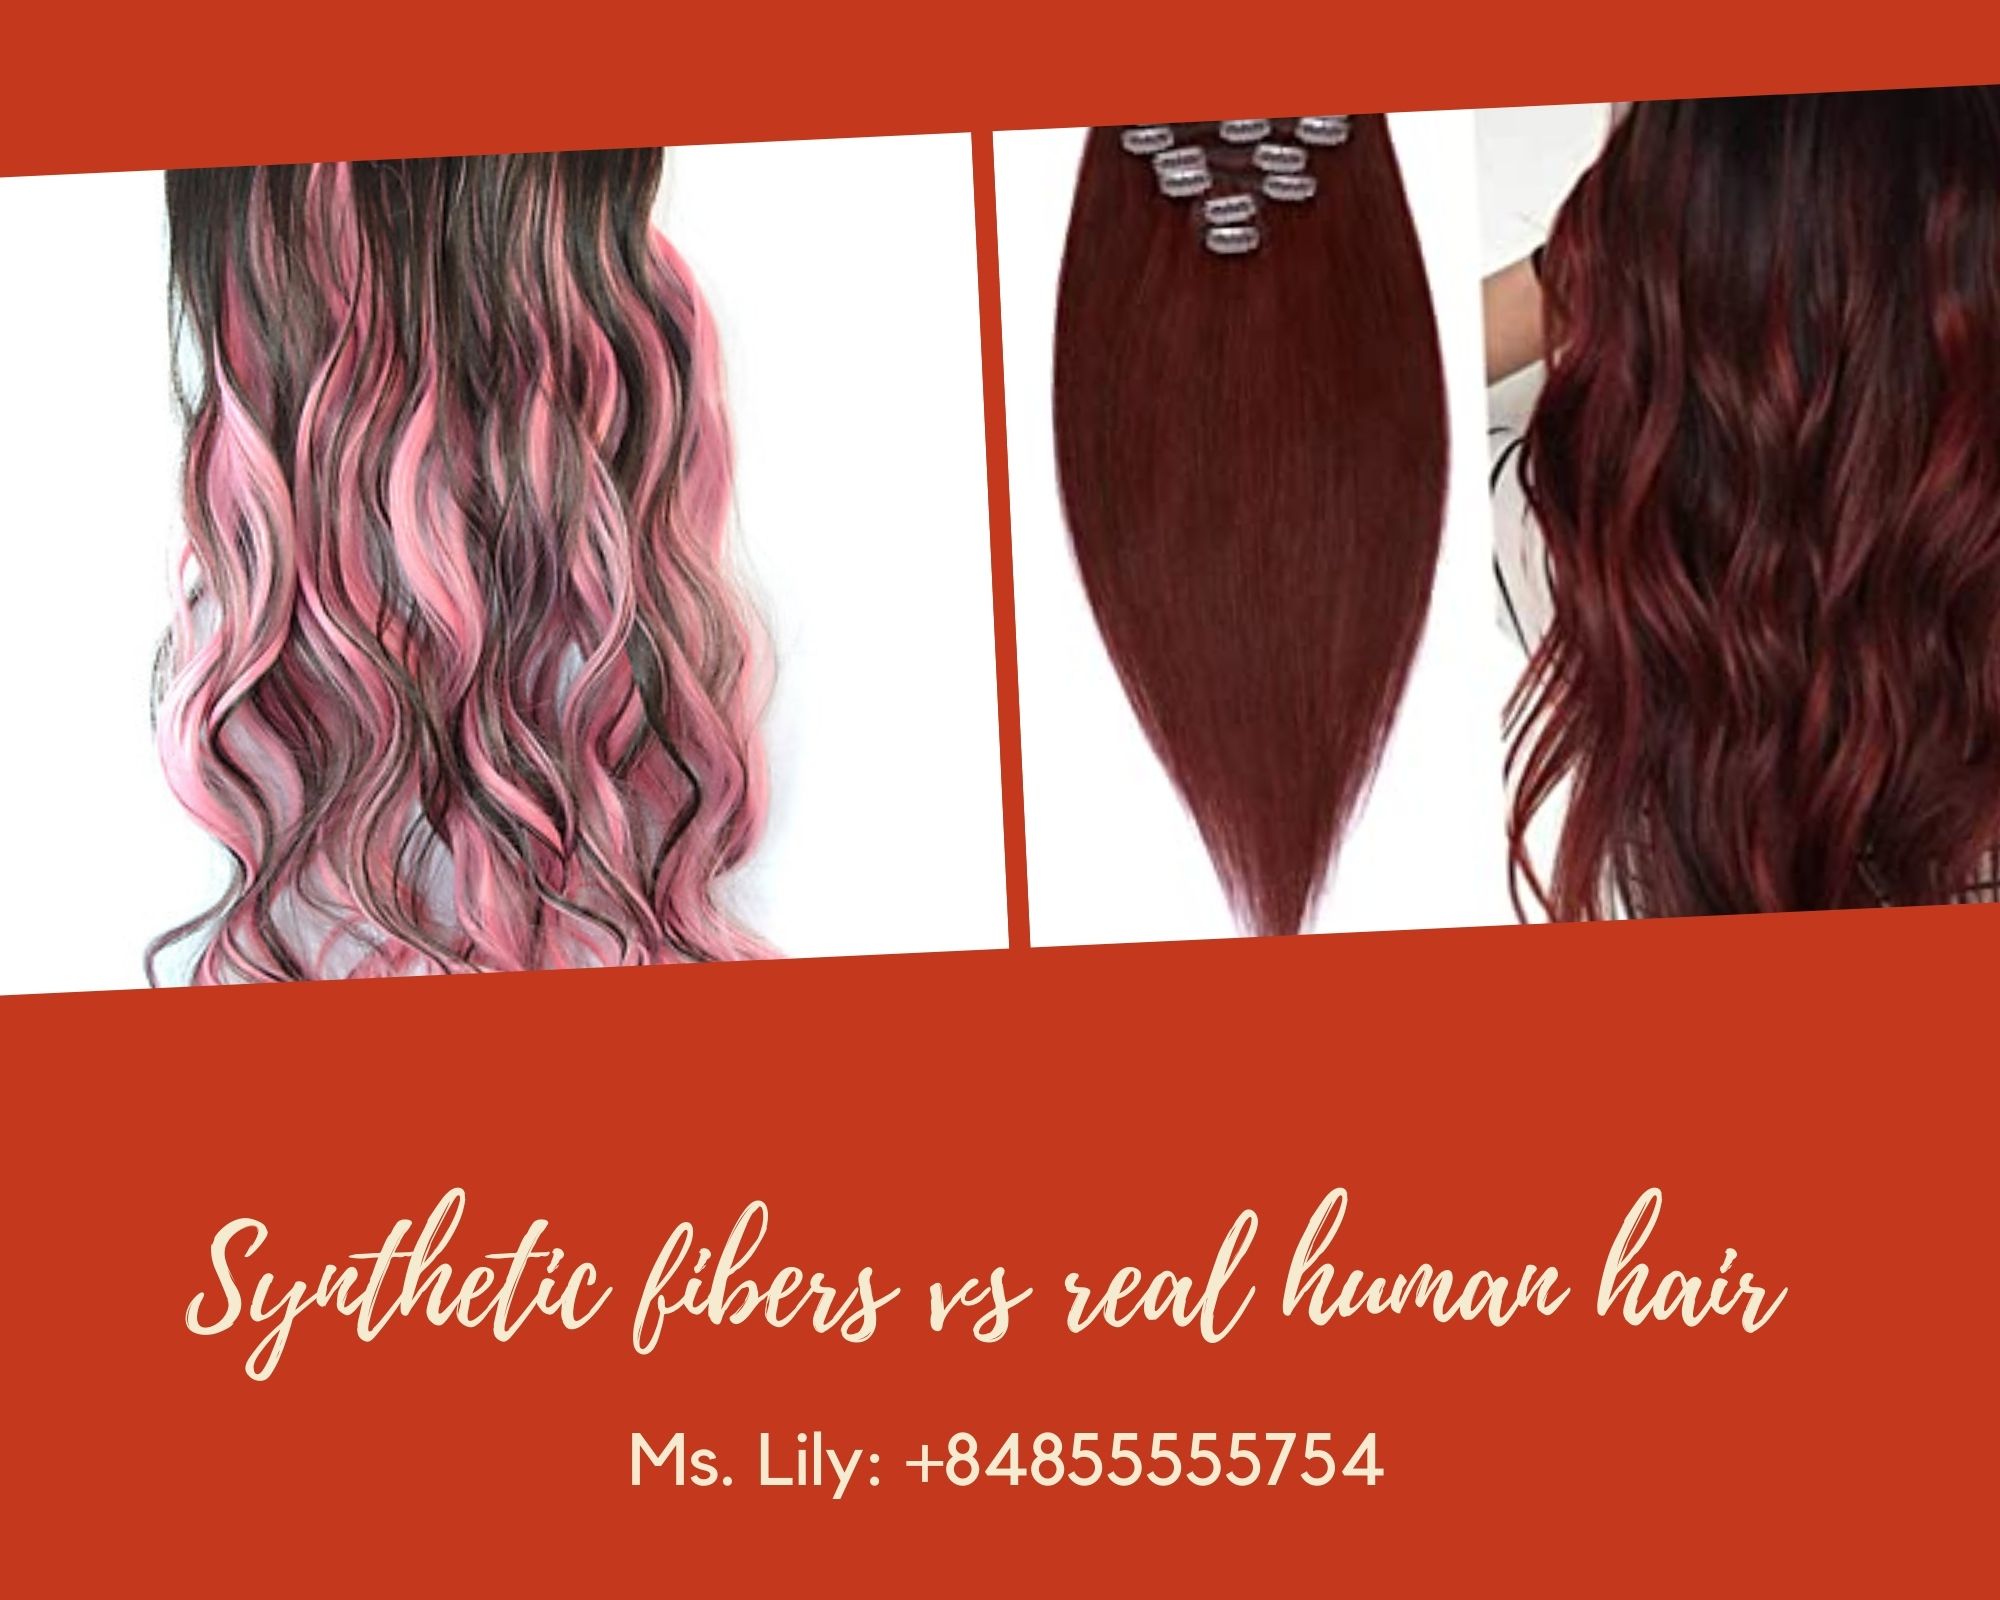
Not all hair dyes are created equal, especially when it comes to extensions. Synthetic extensions, for example, may react differently to dye compared to human hair extensions. That’s why it’s crucial to choose the right product based on the type of extensions you have.
Types of Extensions and Their Compatibility
If you’re using human hair extensions, you’re in luck—they can typically be dyed just like natural hair. However, synthetic extensions are a bit trickier. They don’t always absorb dye evenly, and the results might not last as long. Always check the manufacturer’s recommendations before proceeding.
Permanent vs. Semi-Permanent Dye
When it comes to choosing between permanent and semi-permanent dye, it really depends on your goals:
- Permanent Dye: Great for long-lasting results, but it can be harsher on the hair.
- Semi-Permanent Dye: A gentler option that fades over time, perfect if you’re just testing out a new color.
Step-by-Step Guide to Dyeing Extensions
Now that you’ve got all your supplies ready, it’s time to dive into the actual dyeing process. Follow these steps carefully, and you’ll be rocking your new look in no time.
Step 1: Prepare Your Workspace
Set up a clean, well-ventilated area where you can comfortably work without worrying about making a mess. Lay down old towels or plastic sheets to protect your surfaces, and put on your gloves to keep your hands stain-free.
Step 2: Mix the Dye
Follow the instructions on your dye package to mix the color and developer in a bowl. Make sure to stir it thoroughly until the mixture is smooth and consistent.
Step 3: Section Your Extensions
Divide your extensions into smaller sections using clips or elastic bands. This will make it easier to apply the dye evenly and avoid missing any spots.
Step 4: Apply the Dye
Using a brush or applicator bottle, carefully apply the dye to each section of your extensions. Work slowly and methodically, ensuring that every strand is coated evenly. If you’re going for an ombre effect, start at the ends and gradually work your way up.
Step 5: Let It Set
Once you’ve applied the dye, let it sit for the recommended amount of time (usually 30-45 minutes). Avoid touching or moving the extensions during this period to prevent smudging or uneven results.
Step 6: Rinse and Condition
After the dye has set, rinse your extensions thoroughly with lukewarm water until the water runs clear. Follow up with a deep conditioning treatment to keep your extensions soft and shiny.
Tips for Achieving Professional Results
While the basic process is pretty straightforward, there are a few extra tips that can help you take your DIY dye job to the next level:
- Do a Strand Test: Before dyeing all of your extensions, try it out on a small strand to see how the color turns out.
- Work in a Well-Ventilated Area: Hair dye fumes can be strong, so make sure you’re in a space with plenty of fresh air.
- Wear Old Clothes: Accidents happen, so it’s better to be safe than sorry. Wear something you don’t mind getting stained.
- Use Protective Products: Consider applying a barrier cream or petroleum jelly around your hairline to prevent unwanted staining.
Common Mistakes to Avoid
Even the most experienced DIYers can make mistakes when dyeing hair extensions. Here are a few pitfalls to watch out for:
- Not Reading the Instructions: Always follow the manufacturer’s guidelines to ensure the best results.
- Rushing the Process: Don’t skip steps or cut corners—patience is key when it comes to achieving a flawless finish.
- Using the Wrong Dye: Make sure the dye you choose is compatible with your type of extensions.
- Not Testing the Color First: A strand test can save you a lot of headaches down the line.
How to Maintain Dyed Extensions
Once you’ve dyed your extensions, it’s important to take care of them properly to keep them looking fresh and vibrant. Here are a few maintenance tips:
- Wash Less Often: Over-washing can cause color to fade faster, so try to limit shampooing to once or twice a week.
- Use Color-Safe Products: Invest in shampoos and conditioners specifically designed for color-treated hair.
- Avoid Hot Water: Lukewarm or cool water is gentler on dyed hair and helps preserve the color.
- Deep Condition Regularly: Keep your extensions moisturized and healthy with regular deep conditioning treatments.
Final Thoughts: Are You Ready to Dye?
So, there you have it—everything you need to know about dyeing extensions at home. With a little preparation and some practice, you can achieve salon-quality results without breaking the bank. Remember, the key is to take your time, follow the instructions, and don’t be afraid to experiment with different colors and techniques.
If you’ve found this guide helpful, don’t forget to share it with your friends who might also be interested in transforming their hair. And if you have any questions or tips of your own, drop them in the comments below. Happy dyeing, and may your hair adventures always lead to stunning results!
References
For more information on dyeing hair extensions, check out these trusted sources:
Table of Contents
Article Recommendations
- Das Vermgen Von Hall Amp Oates Im Detail Alles Ber Hall Amp Oates Net Worth
- Das Geheimnis Gelftet India Eisleys Vermgen Eine Analyse
:max_bytes(150000):strip_icc()/colorextensions3-56aa16c43df78cf772ac59e4.jpg)
:max_bytes(150000):strip_icc()/colorextensions1-56aa16c63df78cf772ac59e7.jpg)
Detail Author:
- Name : Arlene Mante
- Username : zfahey
- Email : theron43@gmail.com
- Birthdate : 1987-08-06
- Address : 158 Leuschke Roads Jewelfort, WA 99543-7508
- Phone : (818) 278-1844
- Company : Pfeffer Ltd
- Job : Mechanical Inspector
- Bio : Asperiores esse delectus est nihil accusamus illum possimus laudantium. Sit et sint dolores similique aut consectetur est. Dicta explicabo quos qui perferendis id est.
Socials
tiktok:
- url : https://tiktok.com/@janicealtenwerth
- username : janicealtenwerth
- bio : Id cum totam est eveniet dolores.
- followers : 475
- following : 340
twitter:
- url : https://twitter.com/janicealtenwerth
- username : janicealtenwerth
- bio : Accusamus delectus sit aut odio fugit qui. Molestias optio quidem sint. Eum est quia labore beatae nihil.
- followers : 4589
- following : 1099
